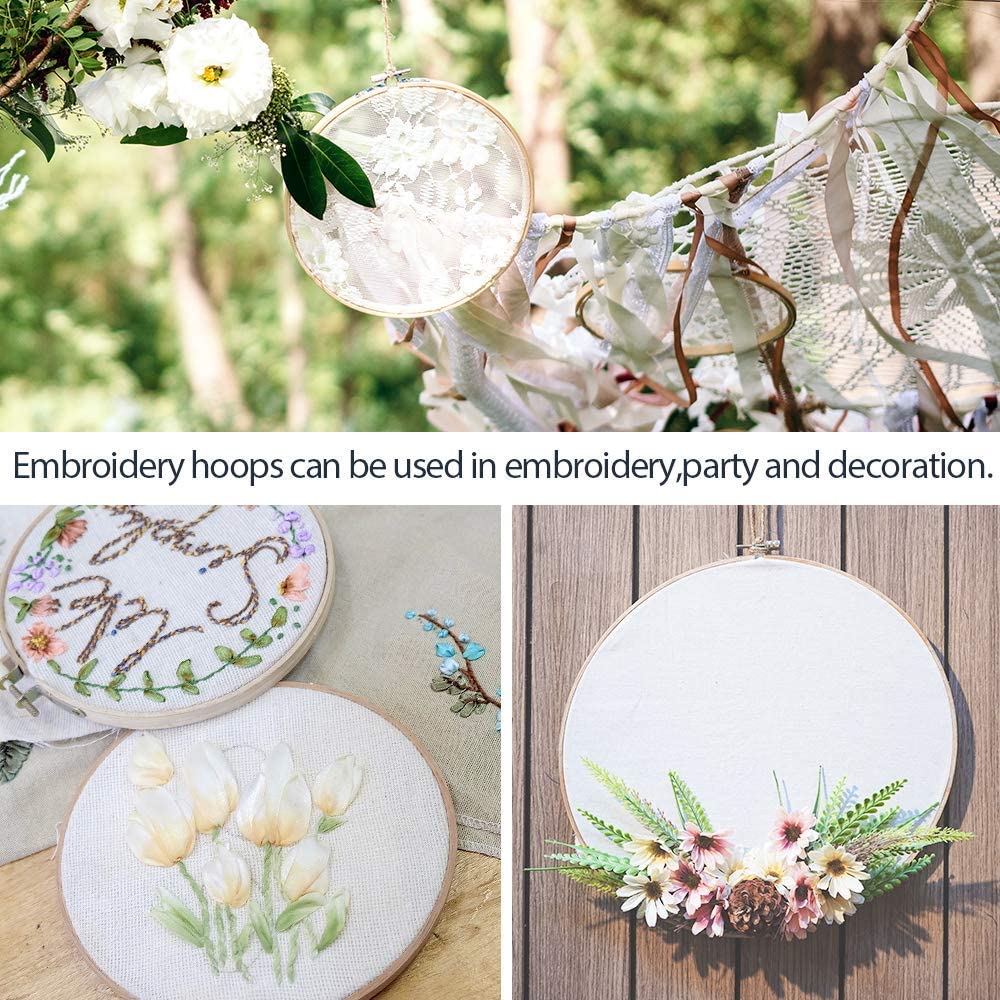
Embroidery hoops are tools used to hold fabric or embroidery in place while stitching. They come in many different shapes and sizes – although the most popular shape is round.
Embroidery hoops are an ideal way to hold your fabric taut and centered for sewing. Not only do they make the work easier, but it also makes it much neater.

In this post, we’ll show you how to use a hoop and some different ways you can move one around for different purposes.
How to use embroidery hoop step by step:
The first step is to choose your hoop size based on the fabric that you’re sewing. It’s crazy easy; just measure the circumference of your fabric (the distance all around). To avoid having to resize your hoop, err on the side of making it too big—you can always trim a little off later.
The best way to use an embroidery hoop is to make sure that the fabric is pulled taut, with no puckering or wrinkles, and then set the hoop on top of it, like so:
The next step would be to screw on the frame of your hoop (or clamp it shut) by turning the screw located at one end. You want the frame as taut as possible for optimal stitching. Now, you’re ready to stitch.
Always remove the hoop from your embroidery after completing your stitching. To do so, gently pull on the fabric while turning the screw in on itself. This will loosen the fabric inside of the hoop and allow you to unscrew it from the frame. Be very careful not to damage your fabric!
There are other ways to use hoops, but these will get you started. For more information on how to use hoops, or opinions on which hoop is best for you, please check out our Embroidery Hoop post.
Here’s a video that goes into more detail on how to use an embroidery hoop:
What types of embroidery hoops are best for beginners?
The type of hoops you will need depends on the fabric you plan on sewing. The best embroidery hoops for beginners are the Birchwood hoops. Wood hoops are great for holding the fabric in place when doing counted embroidery, especially cross stitch and Hardanger work.
Popular sizes for beginners include:
1 3/8 inch, 2 inches, and 2 3/8 inch. There isn’t really the best hoop size for beginners – it all depends on the density of your fabric and what you want to make. Another thing to consider is that certain sizes “look prettier” than others (for example, 1 3/8 is a pretty standard size while 2 1/2 has some “heft” to it.
How to keep fabric tight in embroidery hoop?
Before you put your fabric into the hoop, mark where you need to place it and pull the fabric tight. This will help keep it taut and centered while you stitch. Once in the hoop, screw the screw on as far as possible to hold everything in place.
Where to buy embroidery hoops?
There are great embroidery hoops available online, like from Amazon.com. There are also local shops that carry them, so check around your town or city to see if there are any locally owned needlework shops where you can pick up a hoop or two.
How big stitch in embroidery hoop?
The smaller the fabric, the smaller the stitch you can use. Although it may be tempting to use a large stitch when working with a small hoop, this will only lead to puckering and an uneven final product. The larger the hoop and fabric size, the bigger your stitches can be without causing problems with puckering or stretching.
Good luck and happy stitching!!
You can read another article: